It is easy to create a poll in Microsoft Outlook simply by including voting buttons in an email message. Polls allows you to get an accurate count of recipients’ votes delivered right into your inbox.
1. Create a new email message, or open a message that you want to reply to or forward.
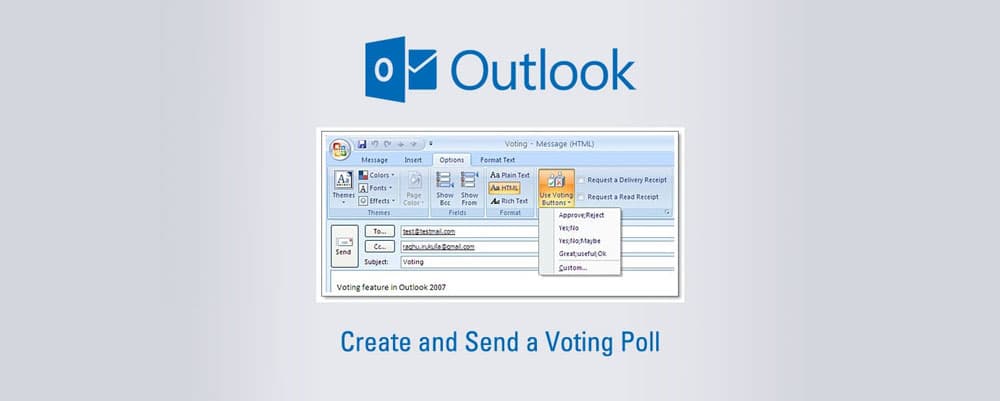
2. Go to the options tab and click the drop-down Use Voting Buttons.
3. Select your button options:
4. Your recipients can vote in the reading pane or in an open message.
5. The sender will see the responses as they come and can select to view all responses in a table.
6. To view your responses in a table, open any response and click The sender responded line in the message header, then click View voting responses.
We’ve got answers — fast, clear, and tailored to your needs. Let’s talk tech.
